Seated Twists (for beginners)
I am breaking down my next home practice series into three entries: beginner, intermediate, and advanced seated twists (quite a project!). The first entry, for beginners, you’ll find below, however there is ample material for my intermediate and advanced students to work with in here. Seated twists are a rich clan of postures to explore. They help create elasticity in the spinal muscles aiding in both forward and backward extensions. The wringing actions of twisting rinse the organic body, cleansing it of toxins and supplying it with fresh blood. They also stimulate the adrenals and can be wonderful for a dull or fatigued body and mind.
Before embarking on seated twists, beginners should start with a handful of the standing postures, including standing forward extensions. You can look at earlier blog entries, specifically ‘From Triangle to Revolved Triangle,’ ‘A Warming Abdominal Sequence,’ and ‘Back to Basics’ to find a sequence of standing postures to begin with. For a quick list, consider: Tadasana with arm variations, Utthita Trikonasana, Utthita Parsvakonasana, Virabhadrasana I and II, Parivrtta Trikonasana and/or Parivrtta Parsvakonasana, Prasarita Padottanasana, Parsvottanasana, Uttanasana, Padangusthasana, Padahastasana (not necessarily in that order although you certainly could do them in that order). What I have included are a few poses to add to your foundational sequence. So while my sequence begins with a handful of poses to consider, your sequence should fill things out further and should begin well before where this sequence picks up.
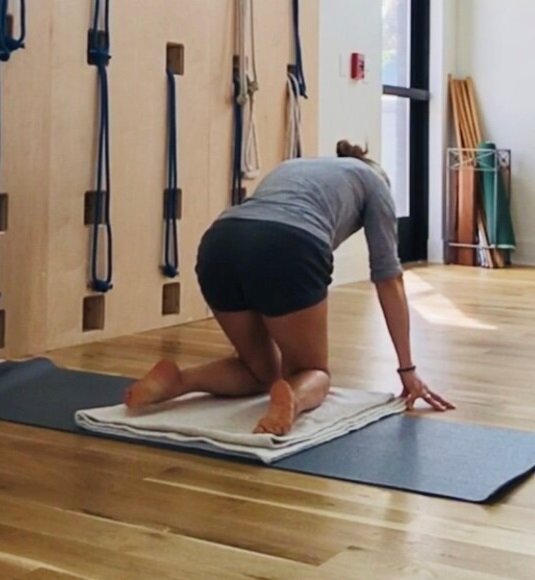
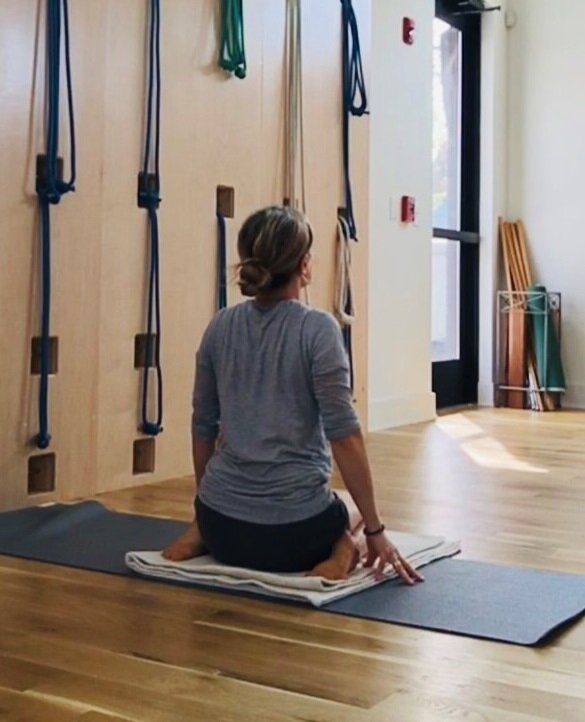
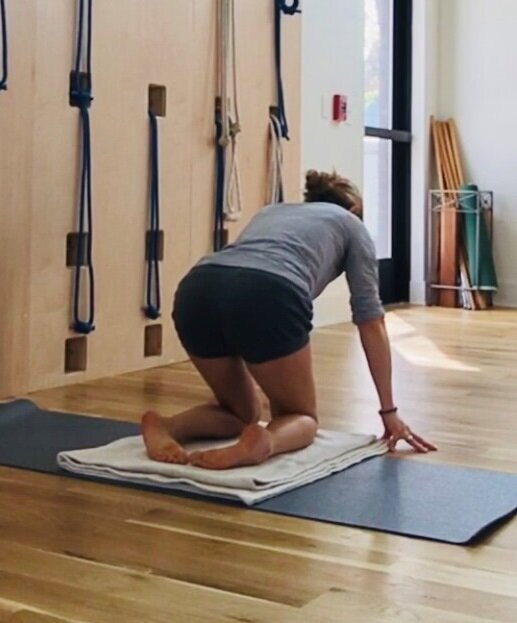
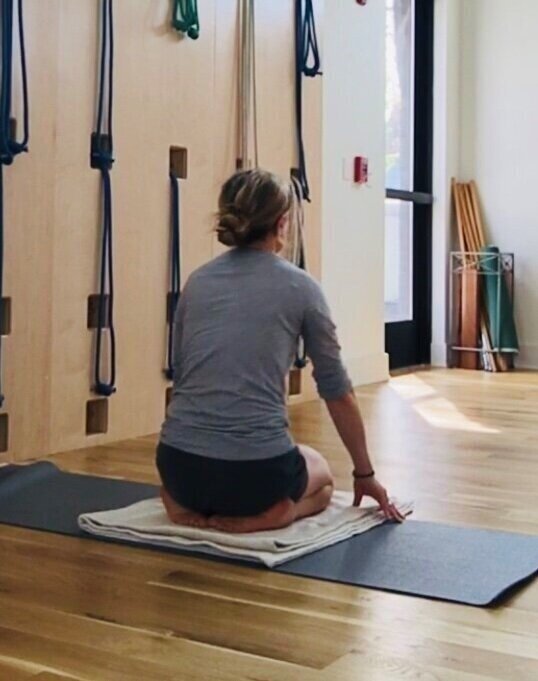
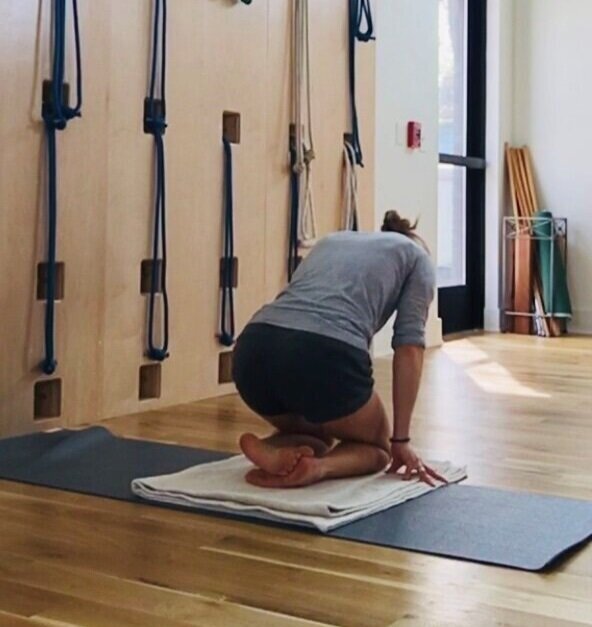
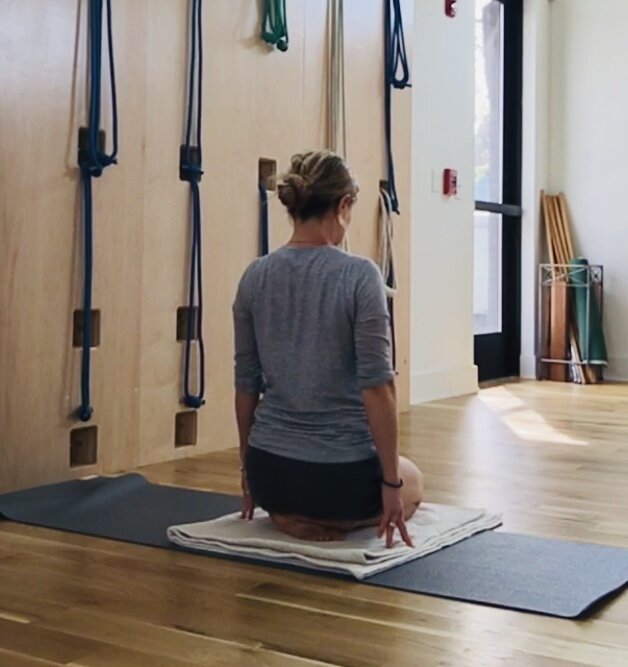
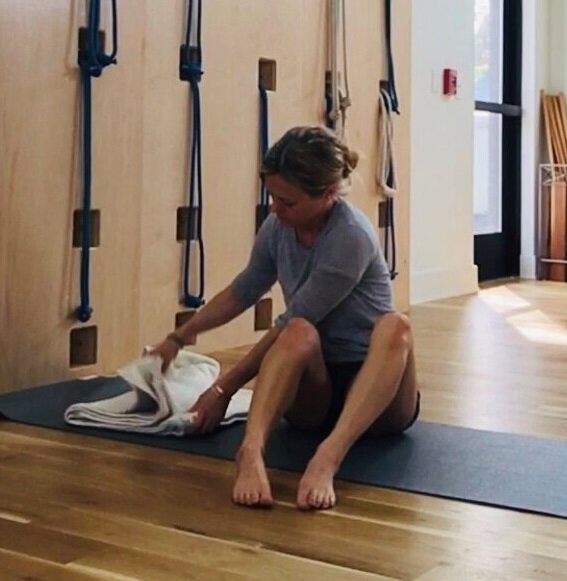
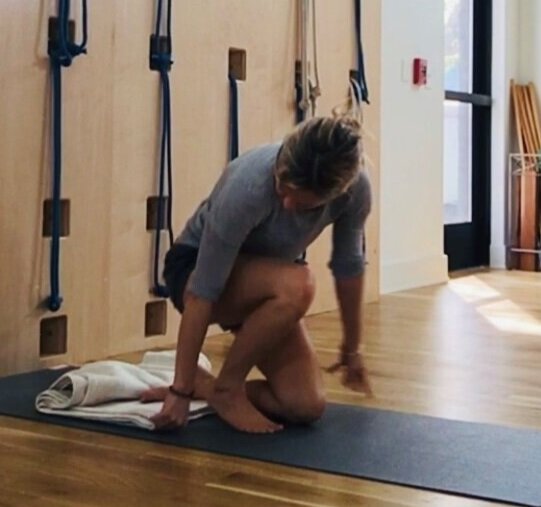
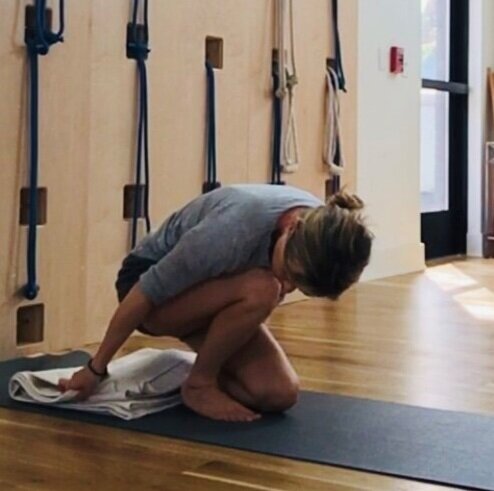
I’ve started this sequence with the Virasana Cycle. The Virasana cycle builds suppleness in the foot, ankle, knee and hip. It also teaches you how to properly sit on the foot for Ardha Matsyendrasana which we will get to later. Lastly it is cooling to the legs and will feel nourishing after your standing postures. Placing a blanket behind the back of the knee (not shown) would especially feel cooling on the legs! You can also add a roll under the ankles for tight ankles (Got that Don?):
Virasana Cycle 1:
If it is difficult to sit with the knees in deep flexion, you can place a folded blanket behind the back of the knee and even use several or a bolster if needed as show below. You can try to manage all the foot positions still (Got it Bebe and Sarah?):
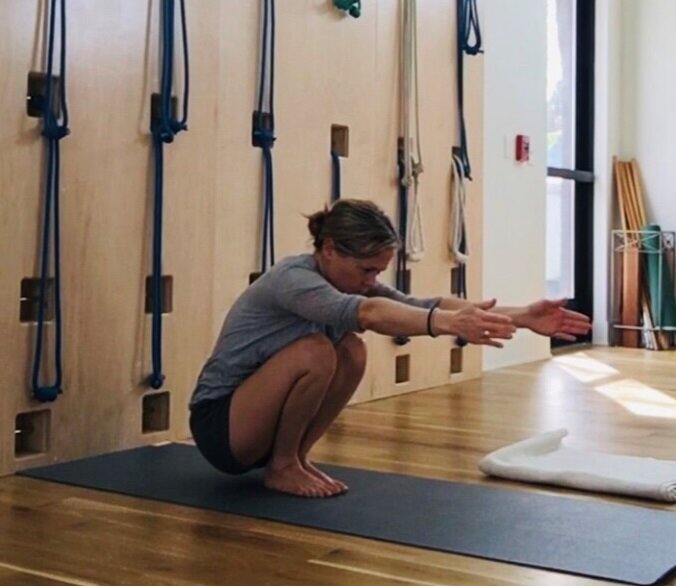
Malasana (Garland pose with support) Try holding on to your kitchen sink or a sturdy rail at home. (Roger that Viv? Margarita, you too!)
If the knees pain you can place a blanket behind the back of the knee joint, close to the fold of the knee as you can get. You can also place a blanket under the heels if the heels lift. See options below.
Now try Malasana without support if possible (folks with knee injury/pain benefit best from the last variaiton), or with just the support you need (you can always keep a blanket for under the heels if they lift and you can’t keep them down, having the heels press down into the floor or a support is a MUST, they should not float. you can also keep the blanket for behind the knee.) Ross, you got this.
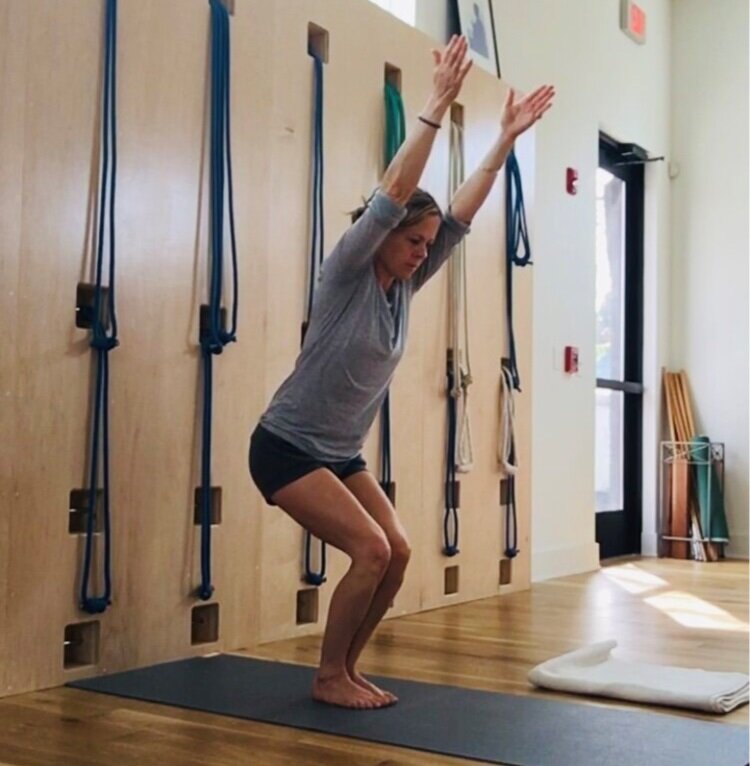
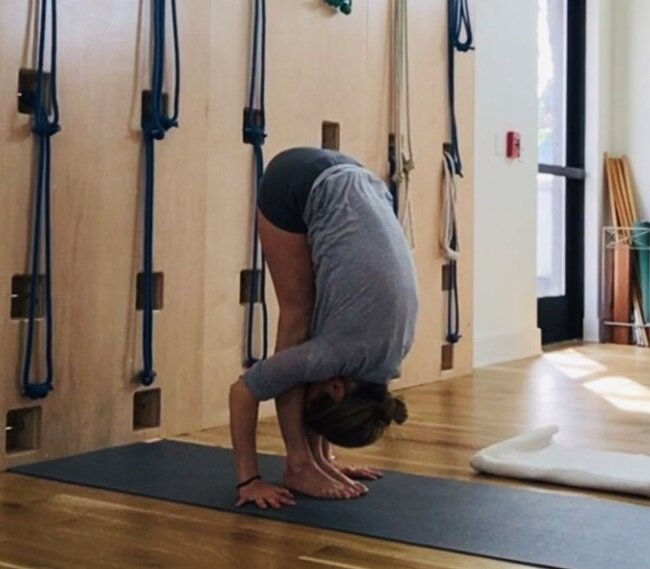
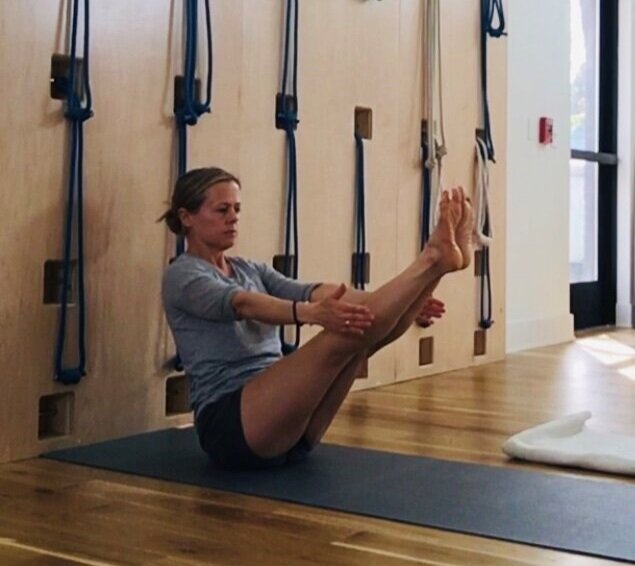
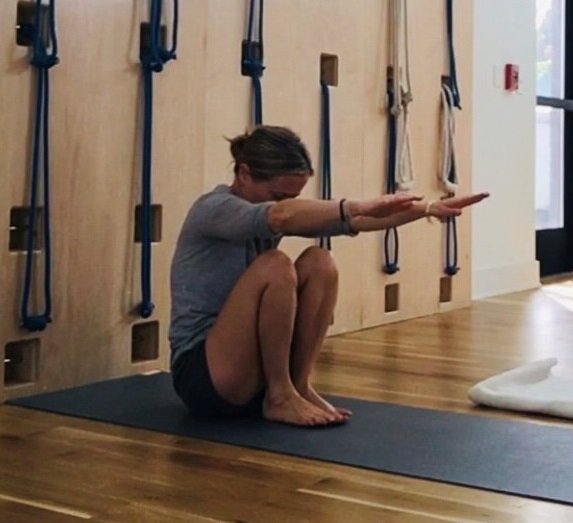
Now for those of you that would like and are able to do Malasana easily, you can create a small vinyasa of several poses sequentially linked together or you can do each of these independent. The sequence is as follows Tadasana (not shown) to Utktasana to Uttanasana to Malasana to Paripurna Navasana to Malasana to Uttanasana back to Utktasana (Ellie, you know this!):
Marichyasana I (Sage Marichi pose) in stages. Notice how one leg is in Dandasana, staff pose, and the other is bent as in Malasana. I am sitting on one blanket, but if you find it is difficult for you to sit upright and the Dandasana leg rolls out and the spine slumps, sit on two or three blankets until it is easy to sit upright with the Dandasana leg rolling in. As you bend the leg into Malasana adjust the skin from the top of the calf down and away from the back of the knee to create a tight fold as you can see in the photo. For knee pain, you can place a belt or small rolled washcloth behind the back of the knee as a spacer (not shown). Same principle as using a blanket behind the knee as you did in Virasana. See how I adjust the calf and bring the leg in:
Marichyasana I (twist only) Here, keeping my Dandasana leg (the straight leg) firm and the toes pointing up, I grip my outer hips in and press my arm into my bent knee AND my bent knee back into the arm. The grip that you have to bring to the outer hip helps to generate lift in the lower spine. This is important for all seated twists. Learning to use the arm as a tool for leverage to intensify the twist is also key. On the inhalation I lift and on the exhalation I use press of the arm/knee to turn. Do just this much to start (can repeat a few times). (Gil, sit on a few blankets. Joey, you too)
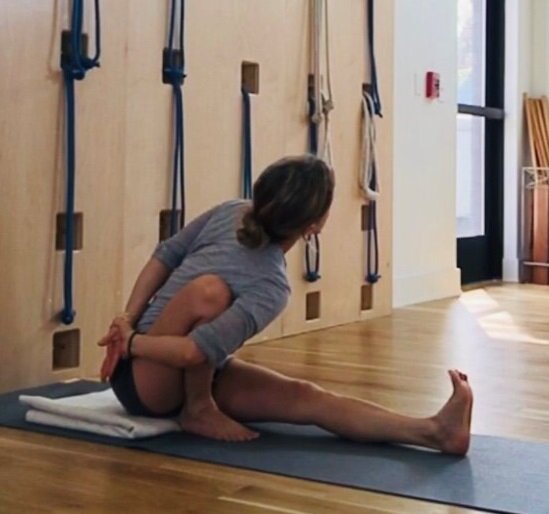
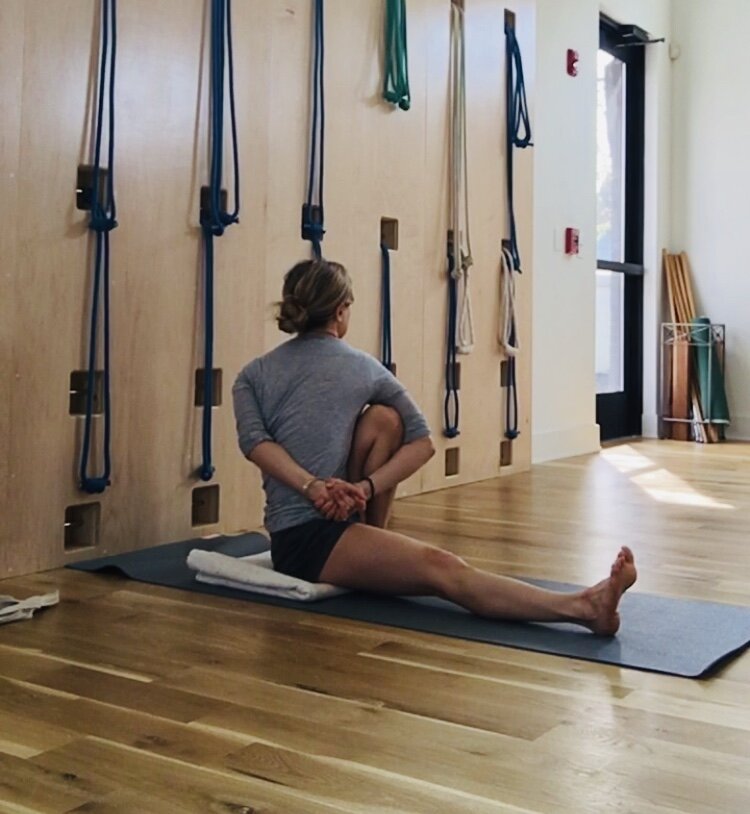
Marichyasana I (taking the bind). You have to keep the bent leg here compact and in as though it were still pressing against your elbow as in the first variation. From here, I grip the outer hips in and see how I reach forward as far as I can to bring the trunk closer to the leg and then catch the wrists. Use a belt if you cannot reach but are close. Also fine to repeat just the earlier stage and try just hooking more of the upper arm to the knee..
Marichyasana I (final stage) with a deep inhalation I elongate my chest and waist upward and then with a sharp exhalation, I rotate my abdomen towards the straight leg and bring the head to the knee, staying for a few breaths. (Corey, you got this!) Guruji says in Light on Yoga that this requires an intense contraction to the abdominal muscles to bring the head to the knee. You’ll feel that effort.
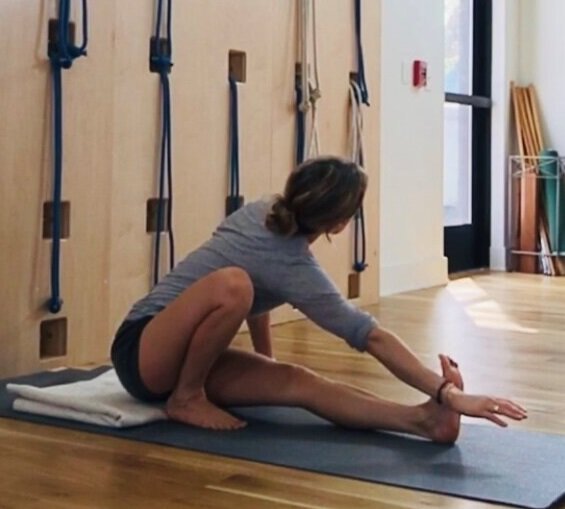
After Marichyasana I, you might consider taking Paschimottanasana (shown) and/or Janu Sirsasana (not shown).
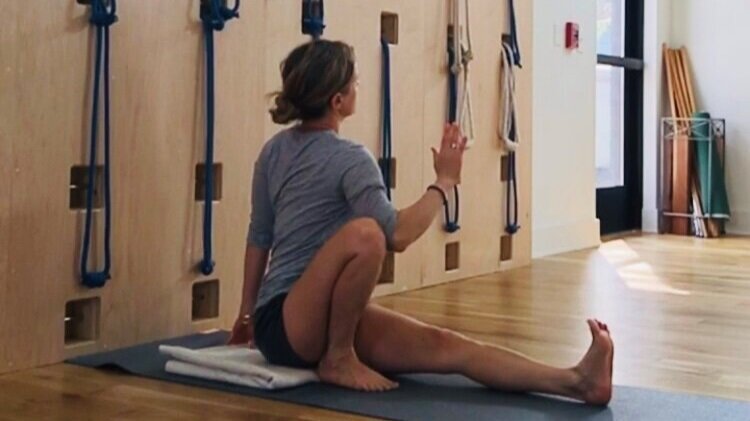
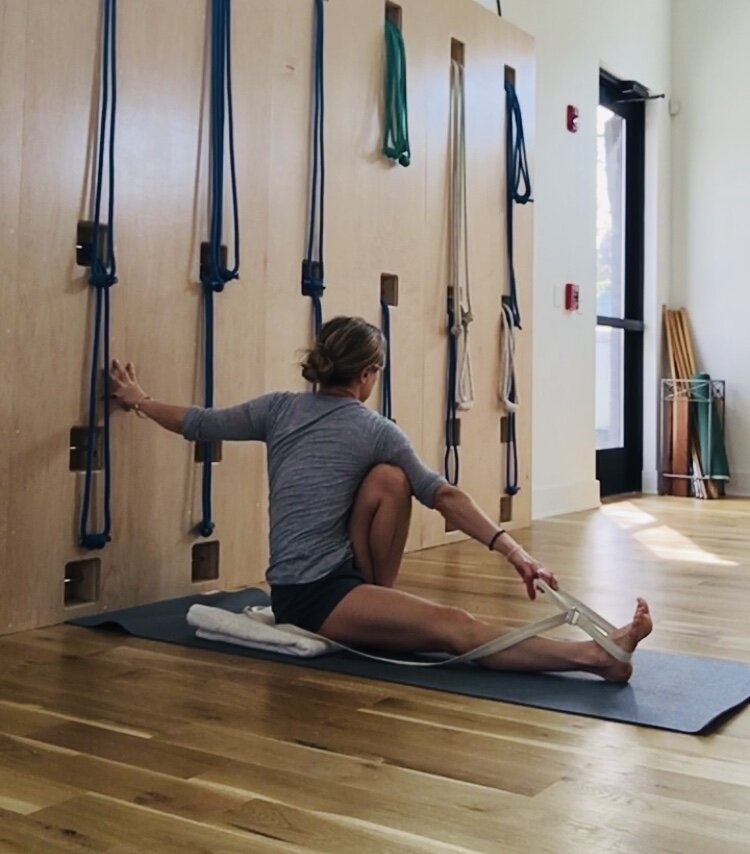
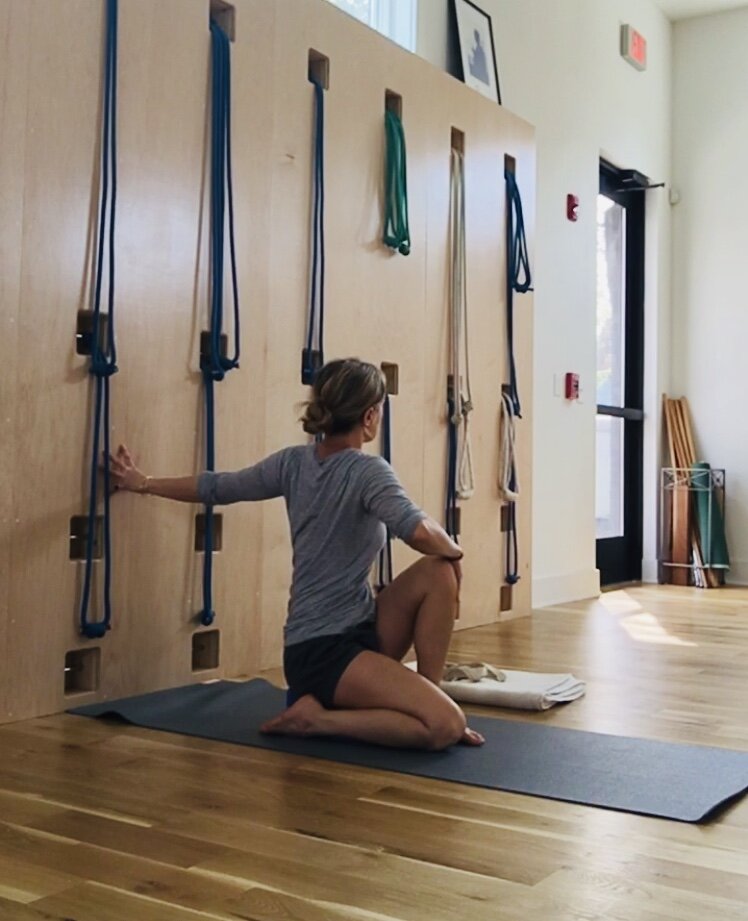
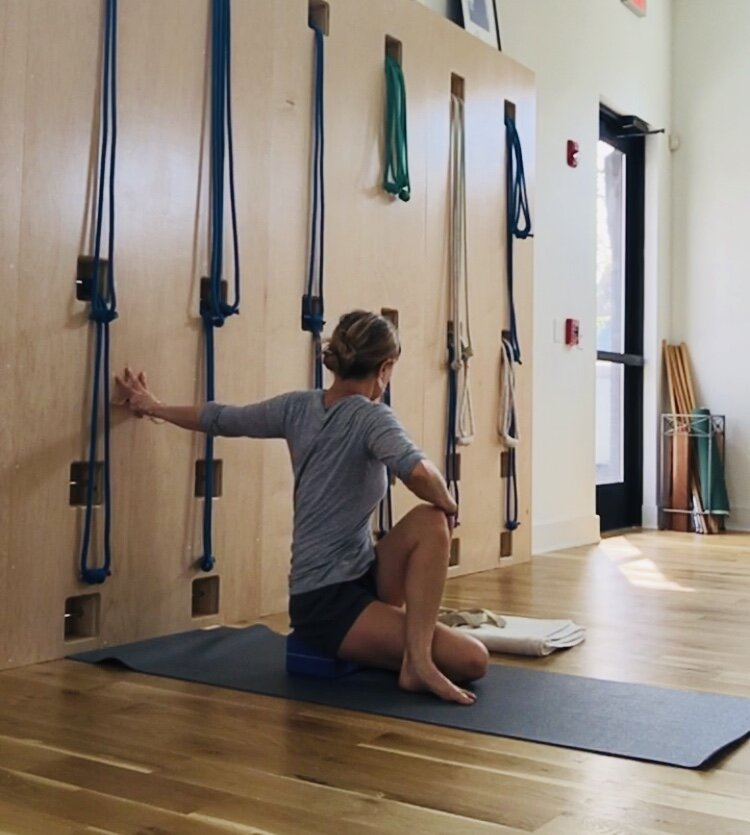
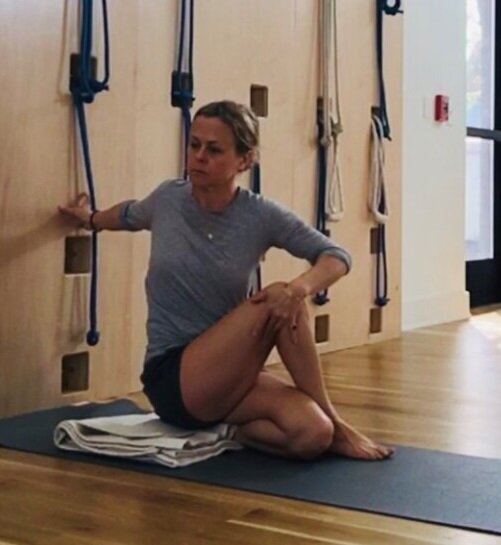
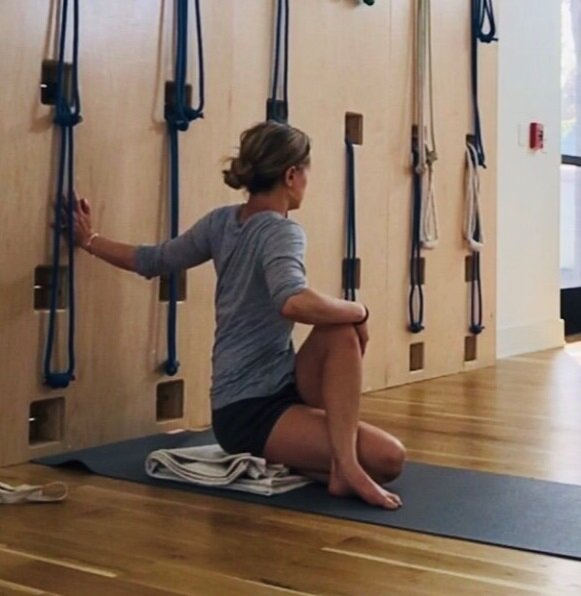
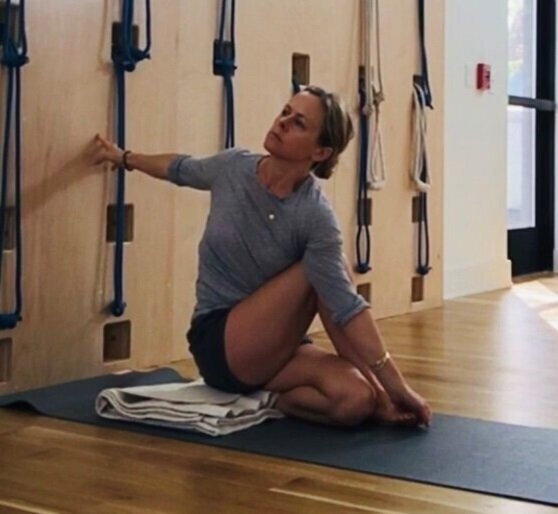
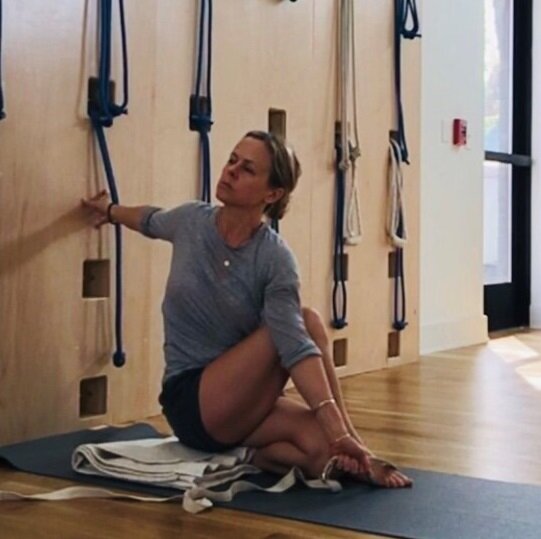
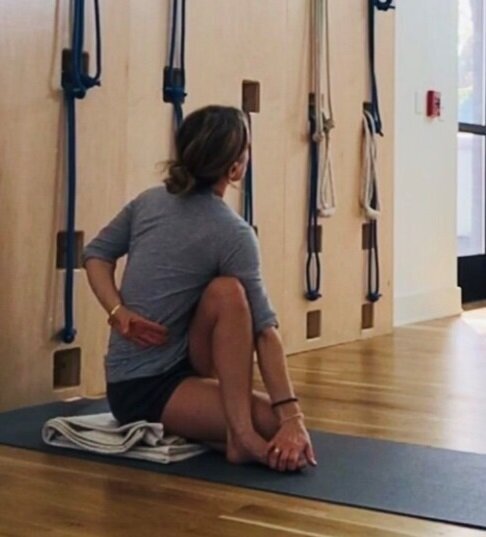
Marichyasana III We will take this pose in stages, start as you did for Marichyasana I adjust the calf (shown above) and from here turn towards the leg. Notice how I am sitting an arms distance from the wall. I am using my hand at the wall to aid in the lift and turning of the spine. I walk my hand back on the wall to turn and I press my hand into the wall to help lift the torso upright. The earlier actions of the Marichyasana I leg and hips apply here (Leanne, this is a great stage for you, Regine and Maggie y’all too!):
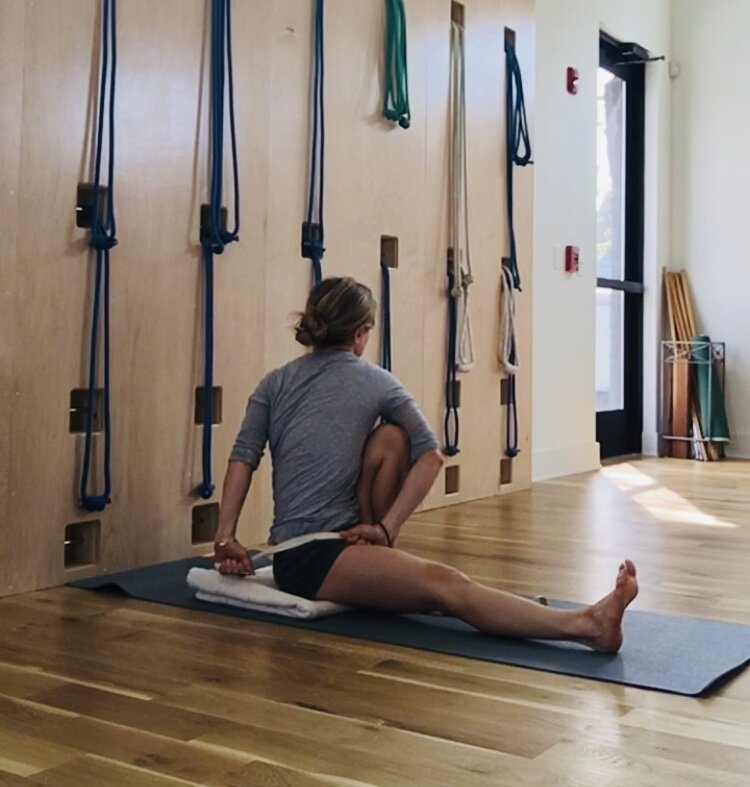
once you’ve done the previous stage once or twice (or three times!) go for hooking the elbow to the outer knee. DON’T forget about your straight leg, keep it rolling in. Got that Kimi?
The clasp is really for Intermediate and Advanced students, but sometimes Beginners find they can take this final arm position with ease so I include it here for those who are able. And, I’ll show you a few options to consider on your way and the final clasp. (Jonah, tighten your Dandasana knee!) :
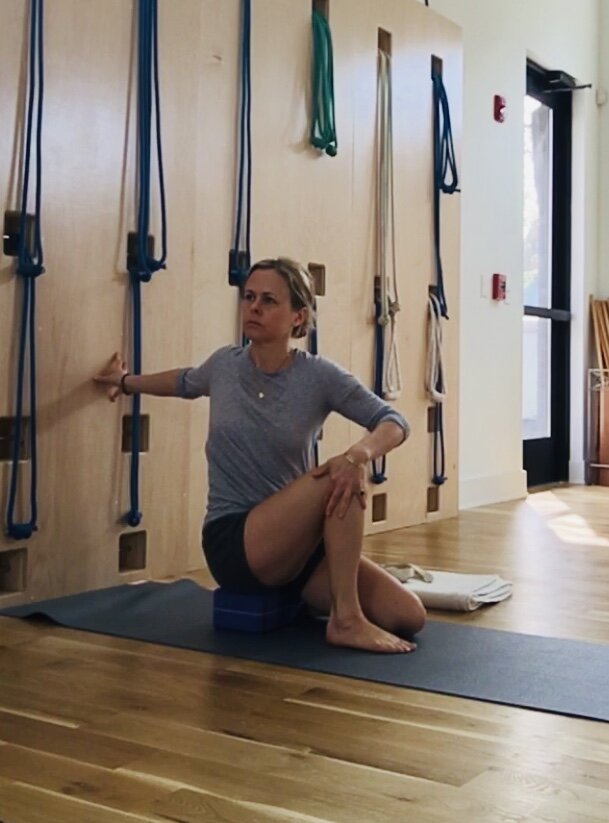
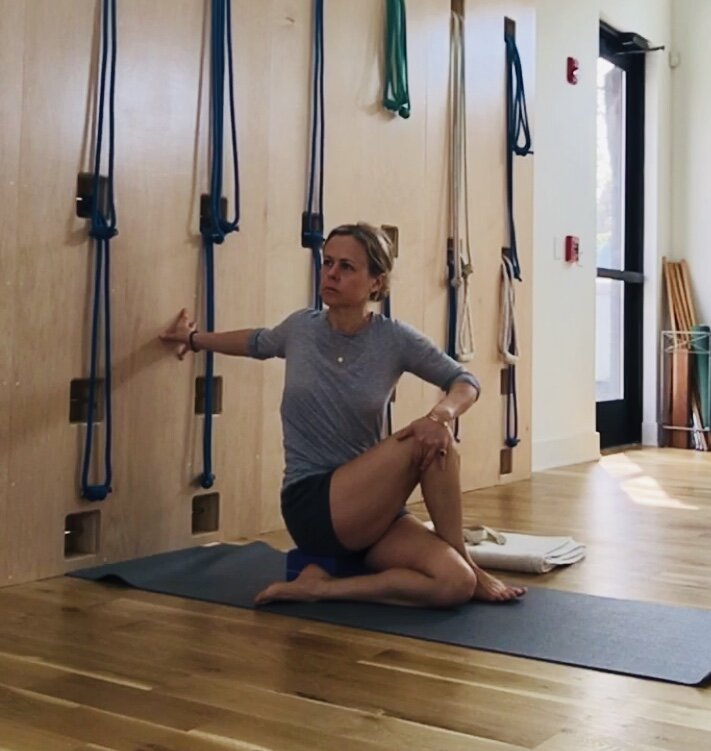
Ardha Matsyendrasana (pose dedicated to Matsyendra, Lord of the Fish) with support. We will take this pose in stages. I will start by showing a few option for those students that may need to sit on the height of a brick because of knee pain (an additional blanket or bloster can be inserted behind the back of the knee as shown earlier in Virasana). In the first option shown, one leg is bent back as in Virasana and the other bent as in Malasana and I am simply turning (this is great for students with tight hip/buttocks or recovering from hip replacement and unable to cross the leg over, Got it Linda?) :
In this second option, I am still sitting on a brick, however I have the bottom leg tucked under as in simple cross leg (Swastikasana) and the top leg is crossed over. See how I keep the shin vertical even though it is crossed over (Larry, sooo good for you!):
Now for the classic pose, you will sit on the foot. The foot position is like the 3rd foot position in the Virasana cycle that you did at the beginning, the foot turn laterally on its side, resting on the sharp edge of the foot. You can use a blanket as I show here to pad the foot (Al, this is good for you!):
Now, once you are sitting on your foot, see that the heel is under the buttock bone of the same side and the toes are under the opposite buttock bone, balance there and then cross the top leg over, again making the shin upright. The foot/leg that crosses over should press tightly against the bottom leg. The hips grip in and as I inhale I stretch the spine upward, exhaling to twist:
As in Marichyasana III, you can work the pose in stages. The next stage is hooking the elbow, again the knee and elbow press in to each other.
Again, the clasping stage that follows is not for Beginners, however, I am including the stages in case the pose is coming along for some of you and you want to see the next step. If the body is stiff, just do the earlier stages and do repeated attempts. To continue along, in the next stage, once you’ve pressed the elbow into the knee, try to hook more the upper arm to the outer knee so that the torso, leg, and shoulder are close in contact, from there see can you reach and catch the foot. See the options below (Nancy, you got this!):
If theses stages are progressing, you can try for the final clasp, but that is very challenging and certainly NOT a beginner action. I show mainly for you to see the final pose.
Once you have completed Ardha Matsyendrasana you might repeat Paschimottanasana and/or a wide Paschimottanasana and see if it has improved (Jason, I hope you’re practicing):
Where to go from here? Take Adho Mukha Svanasana to give an even neutral stretch to the spine. Reclining in Supta Tadasana and taking Supta Padangusthasana with the leg lateral to the side supported (as shown in the last Restorative sequence) is also a great option to let the abdomen and groin release. You can then take Chatush Padasana and Salamba Sarvangasana or SetuBandha (you can find both of these poses in the Back to Basics sequence)
May you have a joy filled, exhilarating practice. Be sure to drink plenty of water afterword.
Aum Peace Peace Peace
Our home practice resource is free and open to the public. If you are enjoy this post and our other home practice resources and feel inspired to donate, you can donate below.

